Creating a full-fledged AAA game is a complex and multi-step process. We’ll tell you more about how it happens, including insights from experienced triple A game company.
Step 1: Idea
Yes, any accomplishment in our lives begins with one small idea. It gradually acquired details, other innovations, and now we have a vision of the future game. The result is usually the creation of the game-design documentation. Developers formalize all their ideas – it may be diagrams, sketches, tables and more. It is at this stage that the overall story of the universe and the main storyline emerge.
While searching for inspiration, many of the developers often play other games or even revisit their favorite movies and books.
Step 2: references and concept creation
So, in the course of brainstorming and hundreds of scribbled pieces of paper, you finally have a relatively well-developed idea for a future game. The place of action, the main characters, the story. Except that all of this is still only “on paper. Now you need to visualize your work.
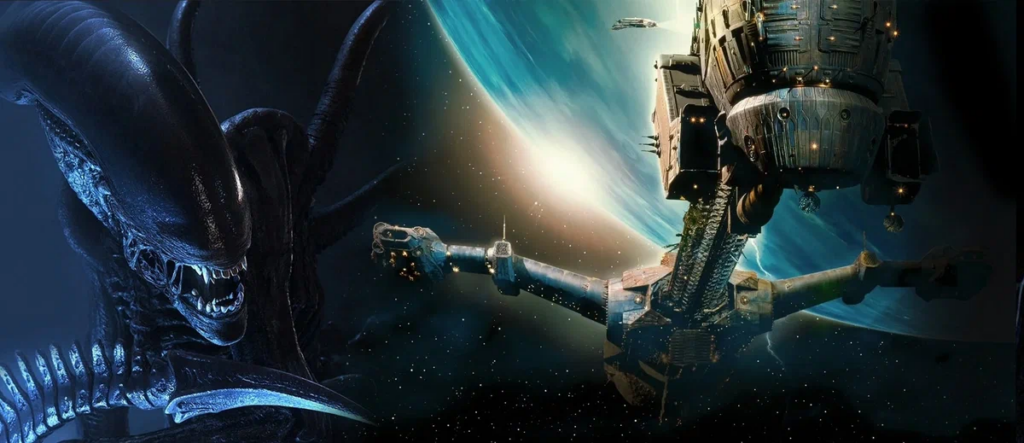
For this case takes concept artists. You, as the developer, set them a task. For example, I want to see a futuristic spaceship or a girl character with red hair – make me a couple of variants. Not only in-house artists can be involved in these projects, if a company has them. It’s not uncommon for independent concept artists to be involved in projects as well.

When creating a AAA game, there are usually more than 1,000 concept art drawings of environments, characters, and objects of all kinds. Some drawings are redrawn ten times until the game designer gets the desired result. In the best cases, artists manage to catch the direction the first time.
Of course, artists don’t just draw inspiration from their imagination. More often, real existing things and locations – references – are used. These can be separate elements of techniques, architectural styles and even nature itself.
When it comes to AAA projects, collecting references can require a lot more time and effort. Especially if you are creating an open-world game.
Step 3: Create 3D models
Once you’ve shaped and approved the visuals for locations, characters, and everything else, it’s time to create 3D objects. Now the artists pass on their work to the 3D designers. This process can be divided into five basic steps.
- Blocking. First of all, create a simple model of the object using ordinary blocks – cylinders, parallelepipeds, and so on. This allows you to roughly estimate the shape, visual appearance and scale.
- Detailing. If in general the visual appearance satisfies the designer and other members of the team, the model begins to be elaborated in detail. Small elements are added, surfaces are made more elaborate. Often, the detailed model is colored to better understand the final look.
- Creating a grid. At this stage, the model is fleshed out with a grid of triangles. Usually a lowpoly model and a highpoly model are created.
- Unfolding. The model is sliced on the plane with the fewest seams. Textures are checked to make sure there is no stretching and everything looks acceptable.
- Baking and texturing. Baking is the transfer of detail from the highpoly model to the lowpoly model. Textures are applied afterwards and the object looks presentable. We use color maps, reflection maps, roughness maps, and smoothness maps. In the output we get a finished model that can be used for the game world.
Step 4: Prototyping
Once you have enough game objects, programmers can create the first prototype of the game. Visually, it won’t even look like an alpha version. The goal of the prototype is to try out mechanics and other algorithms. One or more prototypes can be gradually created in the course of development. If a game designer sees that some mechanics don’t work or don’t have the desired effect, everything is rebuilt.
Step 5: Content development
This is the largest and most time-consuming stage. After testing the implementation of the mechanics, the prototype gradually begins to improve and fill it with content. In what order – here it all depends on each specific game.
Step 6: Testing
At some point you have what is called an alpha or beta version of the game. In the latter, the visuals, mechanics, and a certain part or the whole story can already be completed. This means that the game can already be shown.
Step 7: Release
After everything has been tested, conducted alpha and beta tests the game goes to release.
Conclusion
The development of a AAA game is a very complex process, involving hundreds and sometimes thousands of people. The quality of the final product will largely depend on their coordination. Without coordinated action, even a large budget and the experience of the team cannot guarantee a positive result.
Author Profile

- Chris Glynn is an experienced writer specializing in content related to Cash App and Venmo. With over 8 years of expertise in the field, his advanced and creative writing skills enable him to provide users with accurate and insightful content.
Latest entries
 NewsFebruary 20, 2024How long does it take to get a Michigan Tax Refund?
 NewsFebruary 18, 2024Michigan $500 Tax Rebate, Who Qualifies, Payment Dates, Amount
 NewsFebruary 18, 2024One-time top-up to the Canada Housing Benefit 2024
 NewsFebruary 18, 2024$500 Canada Housing Benefit 2024 Payment Schedule
")


")

